

Picture a marble rolling down a ramp, tipping a lever, which knocks a row of dominoes into a pulley that raises a flag — and your child built every piece of it. That is what this camp is about. No screens, no kits with step-by-step instructions, no following someone else’s design. Your child engineers chain-reaction machines from scratch using ramps, levers, pulleys, marbles, dominoes, and everyday household objects — and the physics is the judge. It either works or it doesn’t, and figuring out why is the whole point.
What Your Child Will Do
- Learn named physics concepts each day — “Height Is Stored Speed” (potential energy), momentum transfer, lever mechanics, pulley systems — and immediately use them to build something real
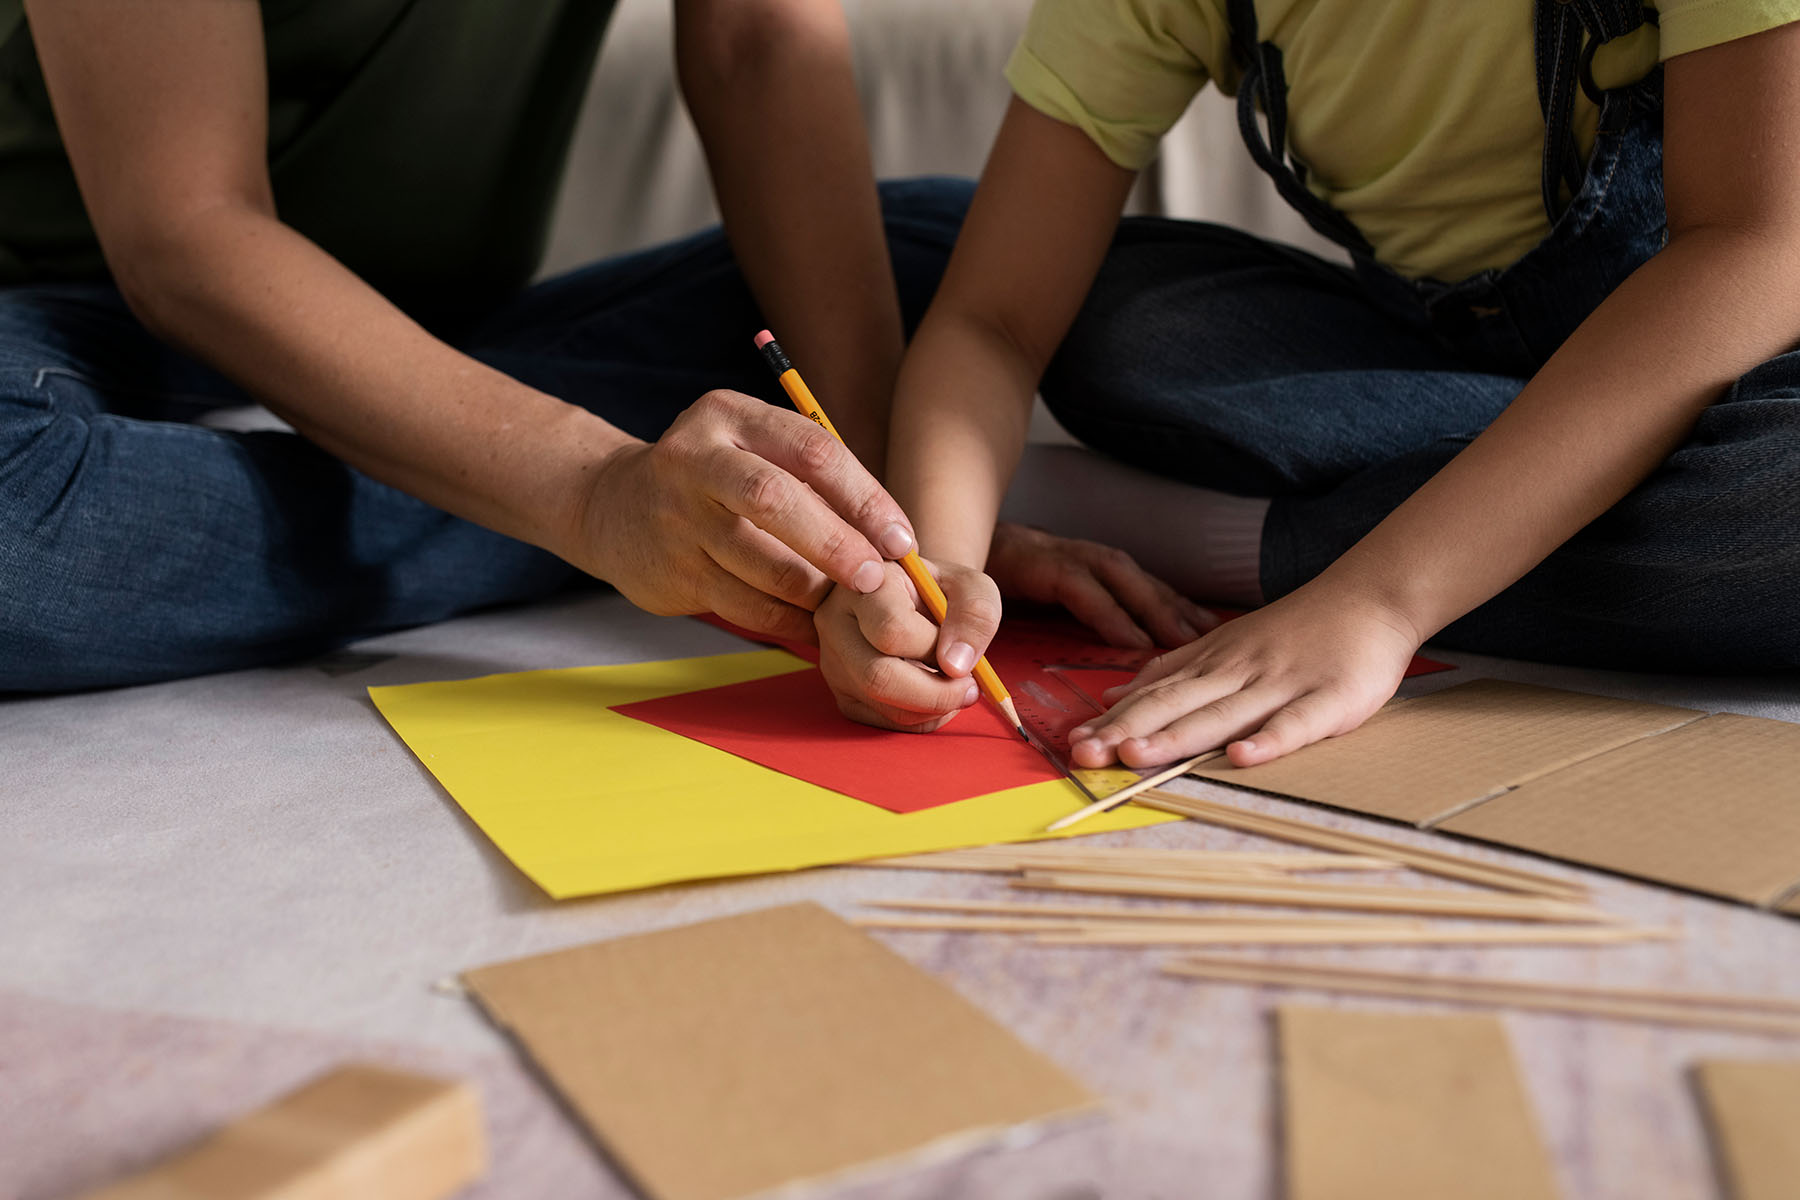
- Sketch their machine design in a Designer Notebook before touching a single material, then build, test, watch it fail, figure out why, and rebuild
- Choose their own challenge level: a straightforward 3-step chain reaction, a multi-stage machine with moving parts, or an open-ended design with no single right answer
- Rotate through team roles — Architect, Builder, Tester, Presenter — so every child discovers what they are actually good at, not just what they were assigned
- Connect their individual machines into one giant team chain reaction in the final sessions, performed live for parents on the last day
Why This Camp?
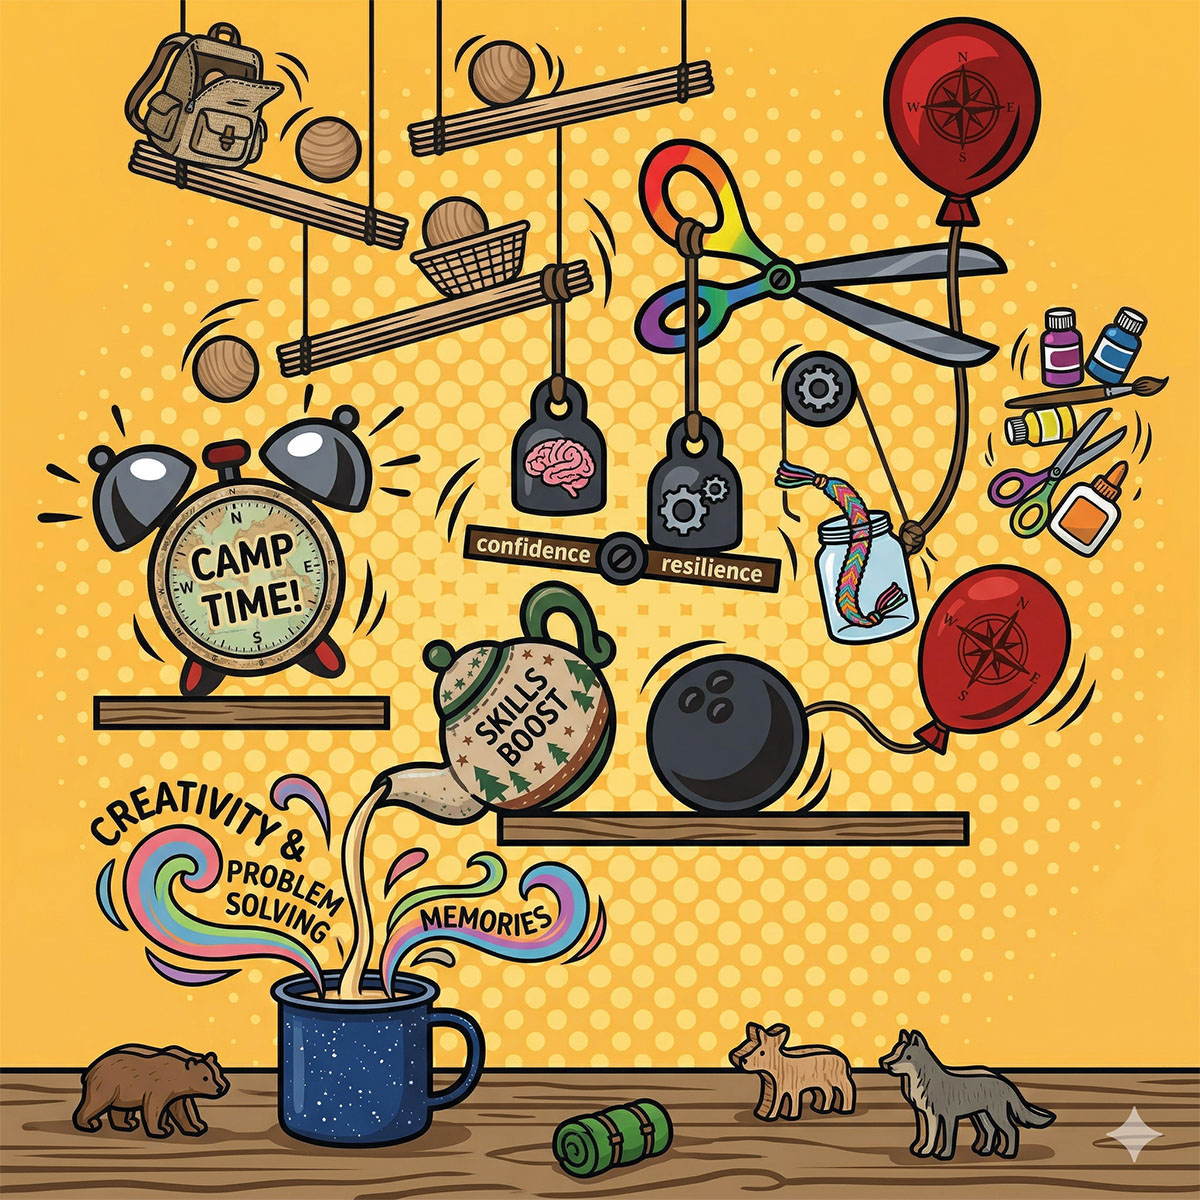
There is something that happens when a child watches a marble leave their ramp, hit the lever at the exact right angle, and set off a chain of events they designed — their face changes. That moment is not about physics vocabulary. It is about the realization that they figured something out and made it work in the real, physical world. No screen told them “correct.” No kit guaranteed success. They tested, it failed, they adjusted, and then it worked — and they know exactly why.
This camp runs on the same teaching framework behind all ThinkAhead Lab programs: children sketch before they build, choose their own challenge level, test their own work honestly, and rotate through roles so they find their real strengths. The difference here is that the physics itself is the ultimate honest check. You cannot convince a marble to roll uphill. You cannot argue with gravity. When it works, your child earned it. When it doesn’t, the debugging process IS the lesson.
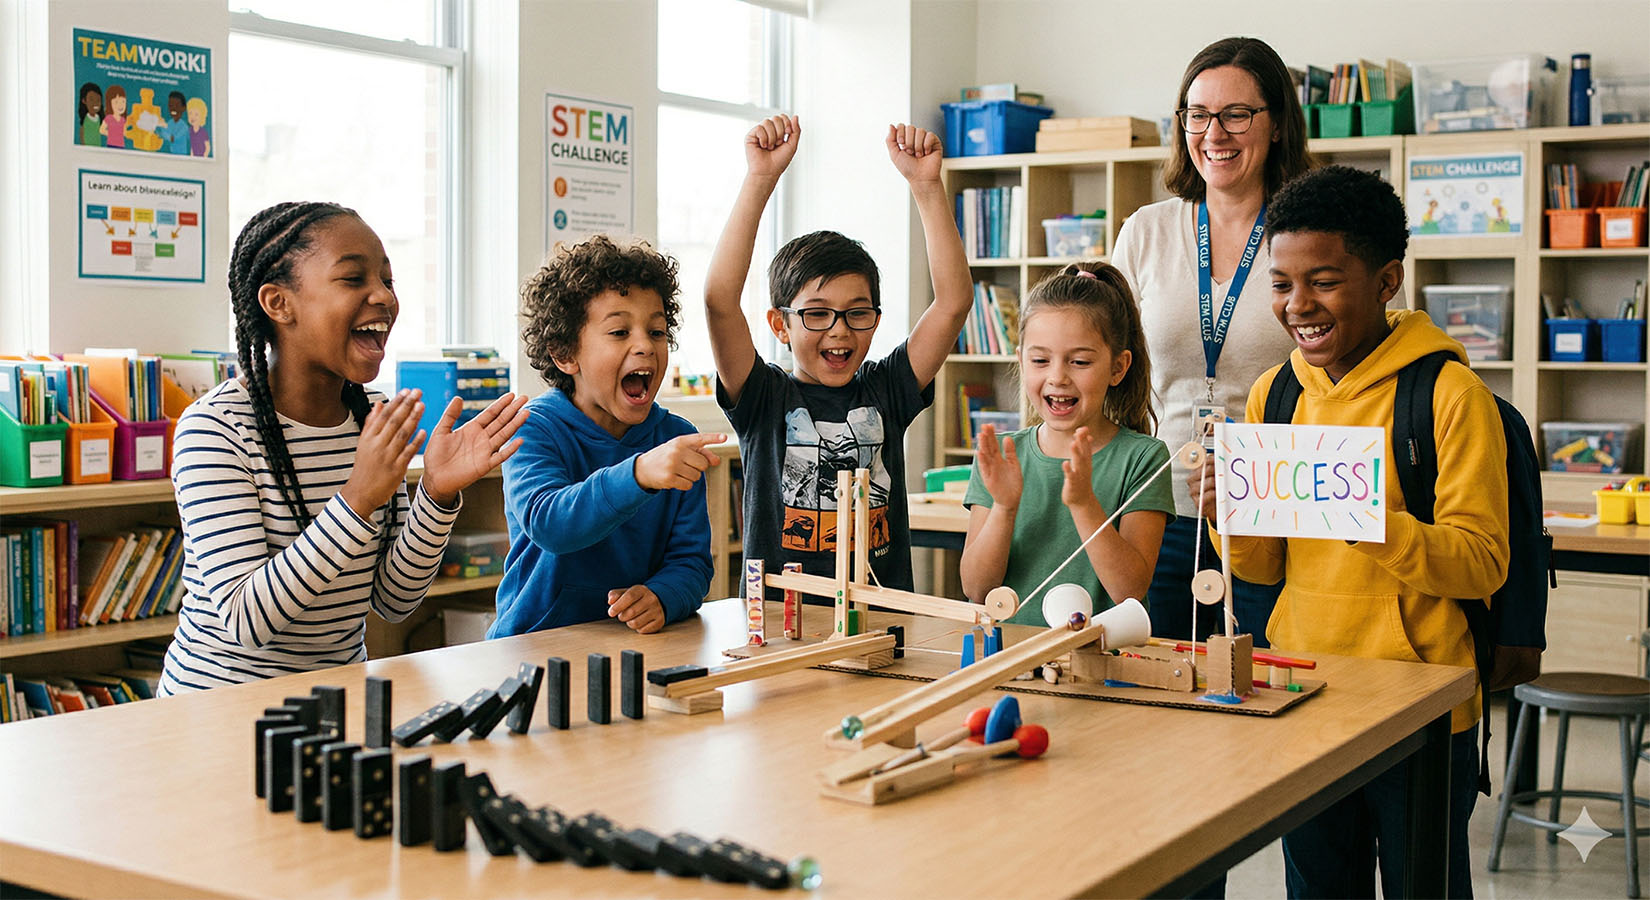
The week builds toward one unforgettable moment: every team’s machine connected into a single mega chain reaction that runs across the entire room. Parents watch it live. It is loud, it is suspenseful, and every child in the room helped make it happen.
Prerequisites: None. All materials are provided. Your child just needs to be curious and willing to try things that might not work the first time — which, honestly, is the whole point.